
@MaryDenman
 Welcome back for photography tips. A lot of people find taking night time shots to be very difficult. The images end up too dark, too grainy or blurry. So how do you take better night time photos? I'm glad you asked.
Let's get started. The quickest way to improve your shots is to under the sensitivity of the "film". Back in the print film days, you could buy an ISO of 64 for slides, then ISO 100 for bright daylight, 200-400 for indoor shots and then 800-1600 ISO for dim lighting photography.
(You can also read last week's post here.)
One of the great advancements of digital cameras is that you can change the ISO on your camera from one shot to another. Back in the film days, unless you had two cameras, you were stuck with the ISO that was in the camera until you finished the roll.
 Okay, go get your camera and see if the dial looks similar to this. If so, you can turn the dial to "P" which stand for Program Mode. this setting allows you to change the ISO. You can also go to full Manual, but then you'll have to change the Aperture and Time Values. For right now, just see if your camera has a program mode.
 These pictures are all un-retouched. I have done no editing to them. I took them all on the same night in Firenze, Italy. (Florence)
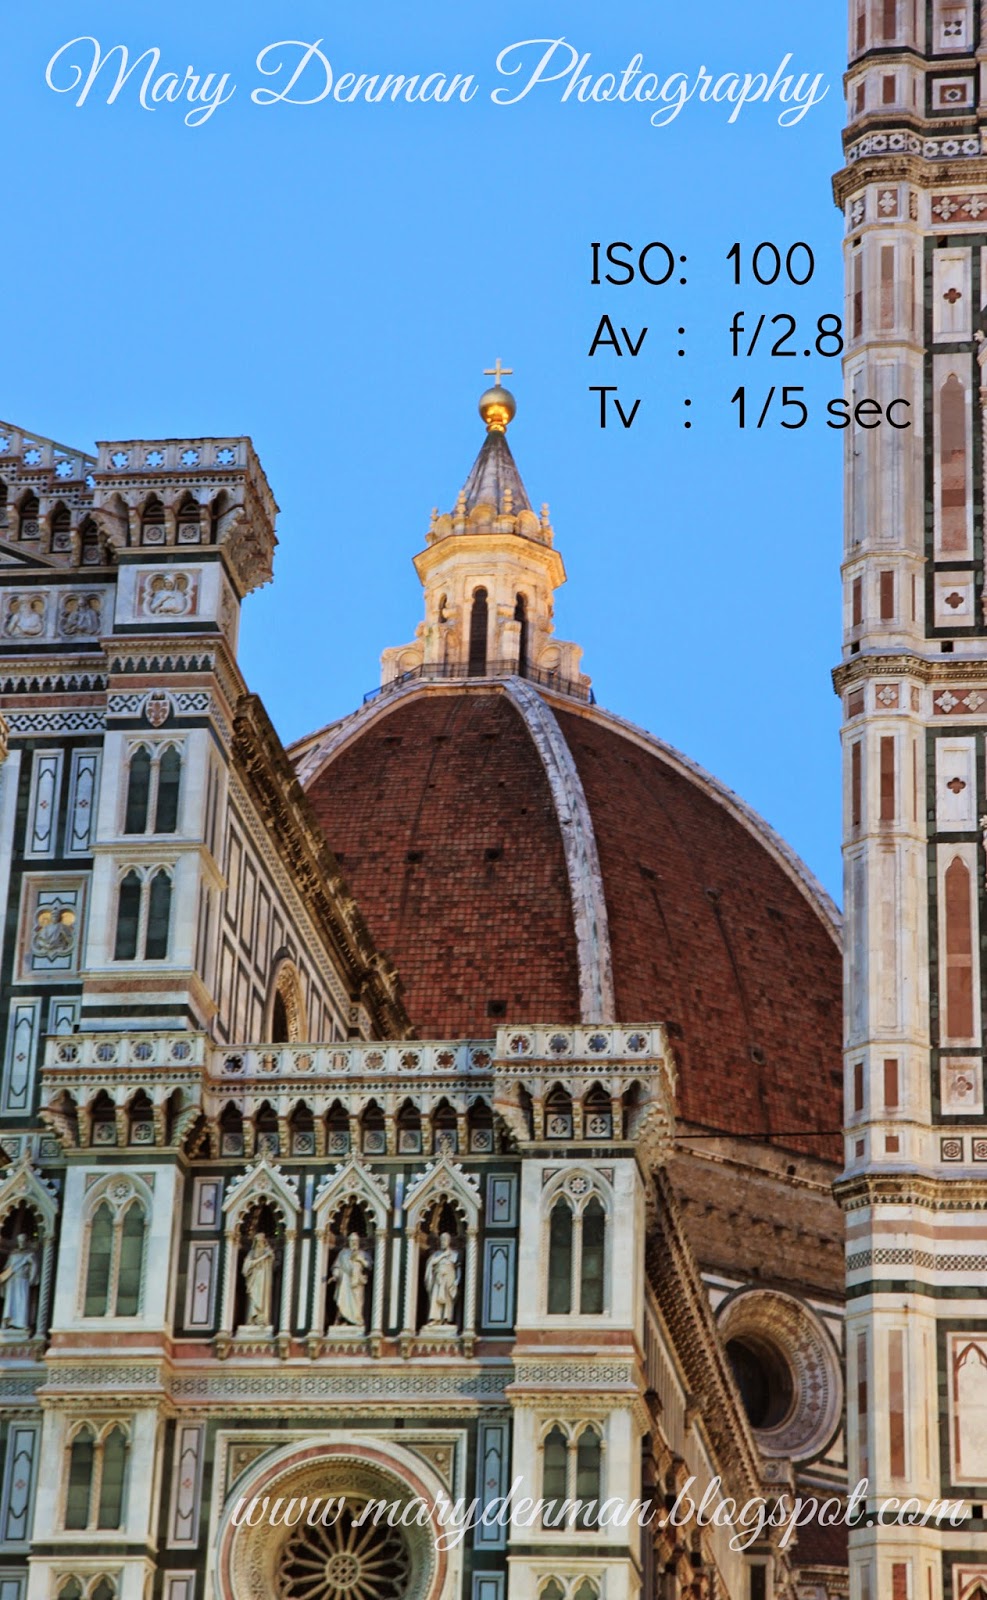
You'll see the sky changing color as it got darker.

This photo shows the sky and clouds getting a deeper blue. I was able to use an ISO of 100 because I had a tripod.
The front of the Duomo has lighting on it to allow people to enjoy the beautiful facade at night as well as during the day.
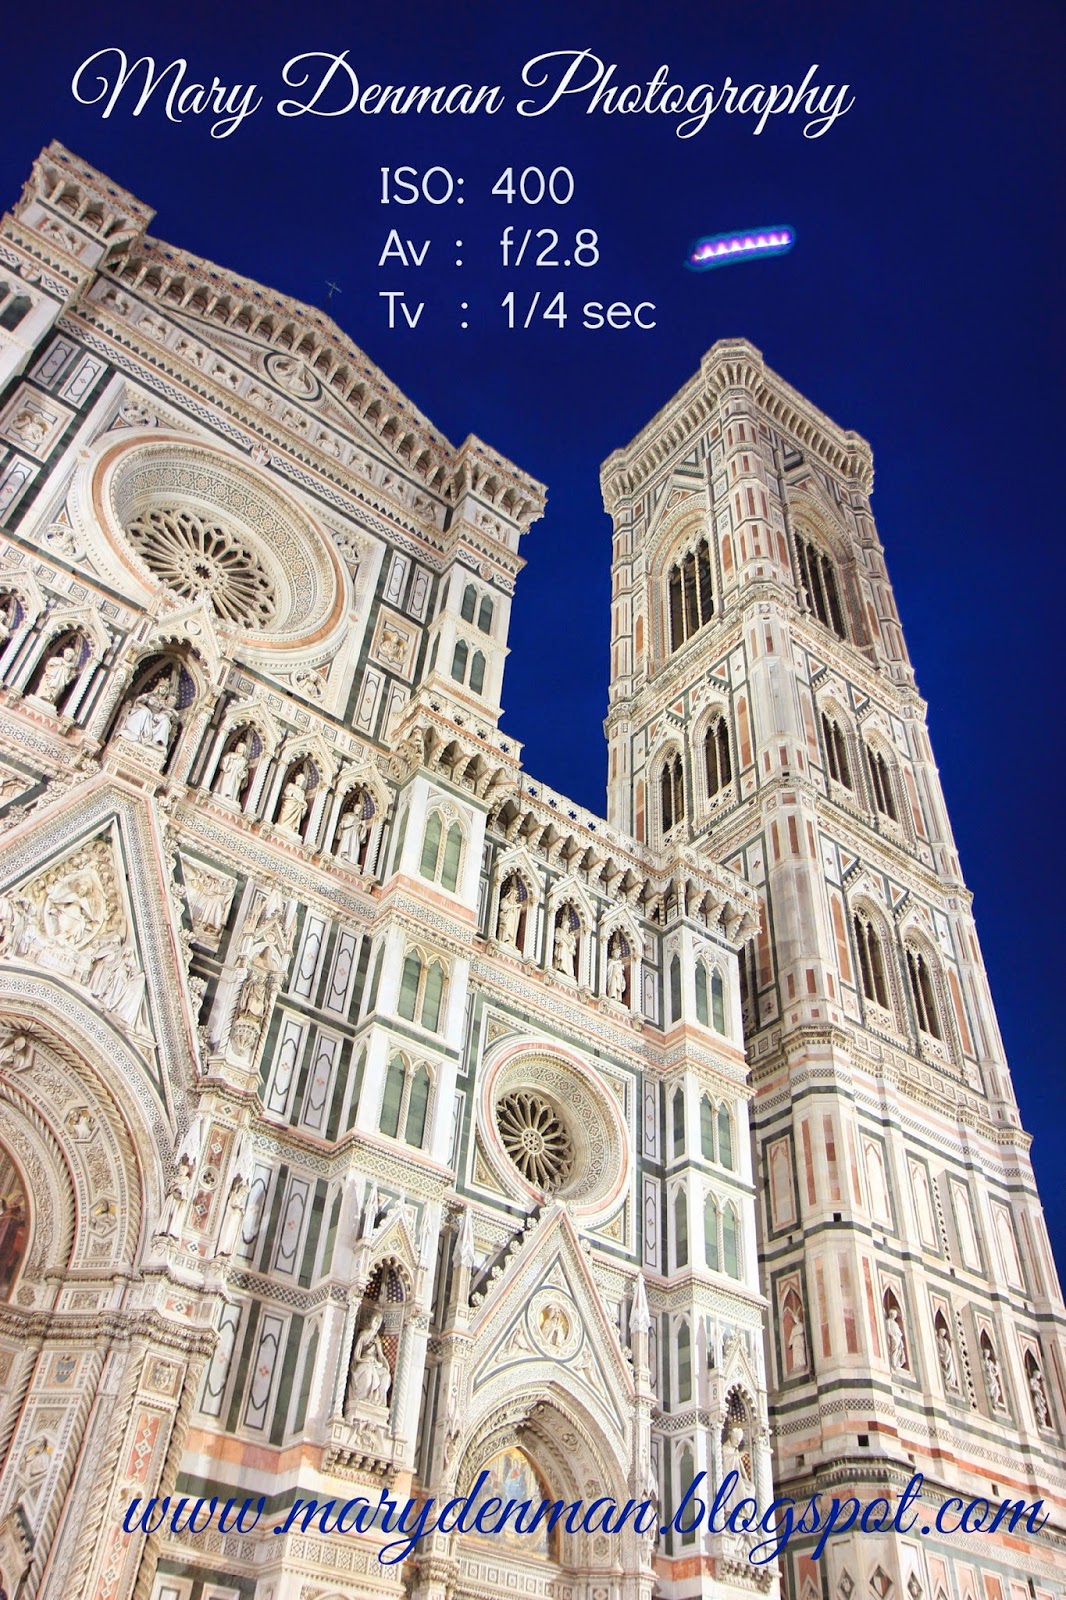
But then as the rest of the natural lighting disappeared with the sun, the sky continued to darken.
If you're observant, you'll see a purple line of dots in this photo. No, it's not a UFO. Vendors were out selling their wares, including a lit spinning top.
They would fire them up in the air, the let them land near someone, and then run to pick it up. Whoever was closest to where it landed became the lucky recipient of a very persuasive seller.
Again, I was using a tripod at this point. You can't handhold 1/4 of a second shot and have it be clear.
I moved the ISO to 400 for some shots.
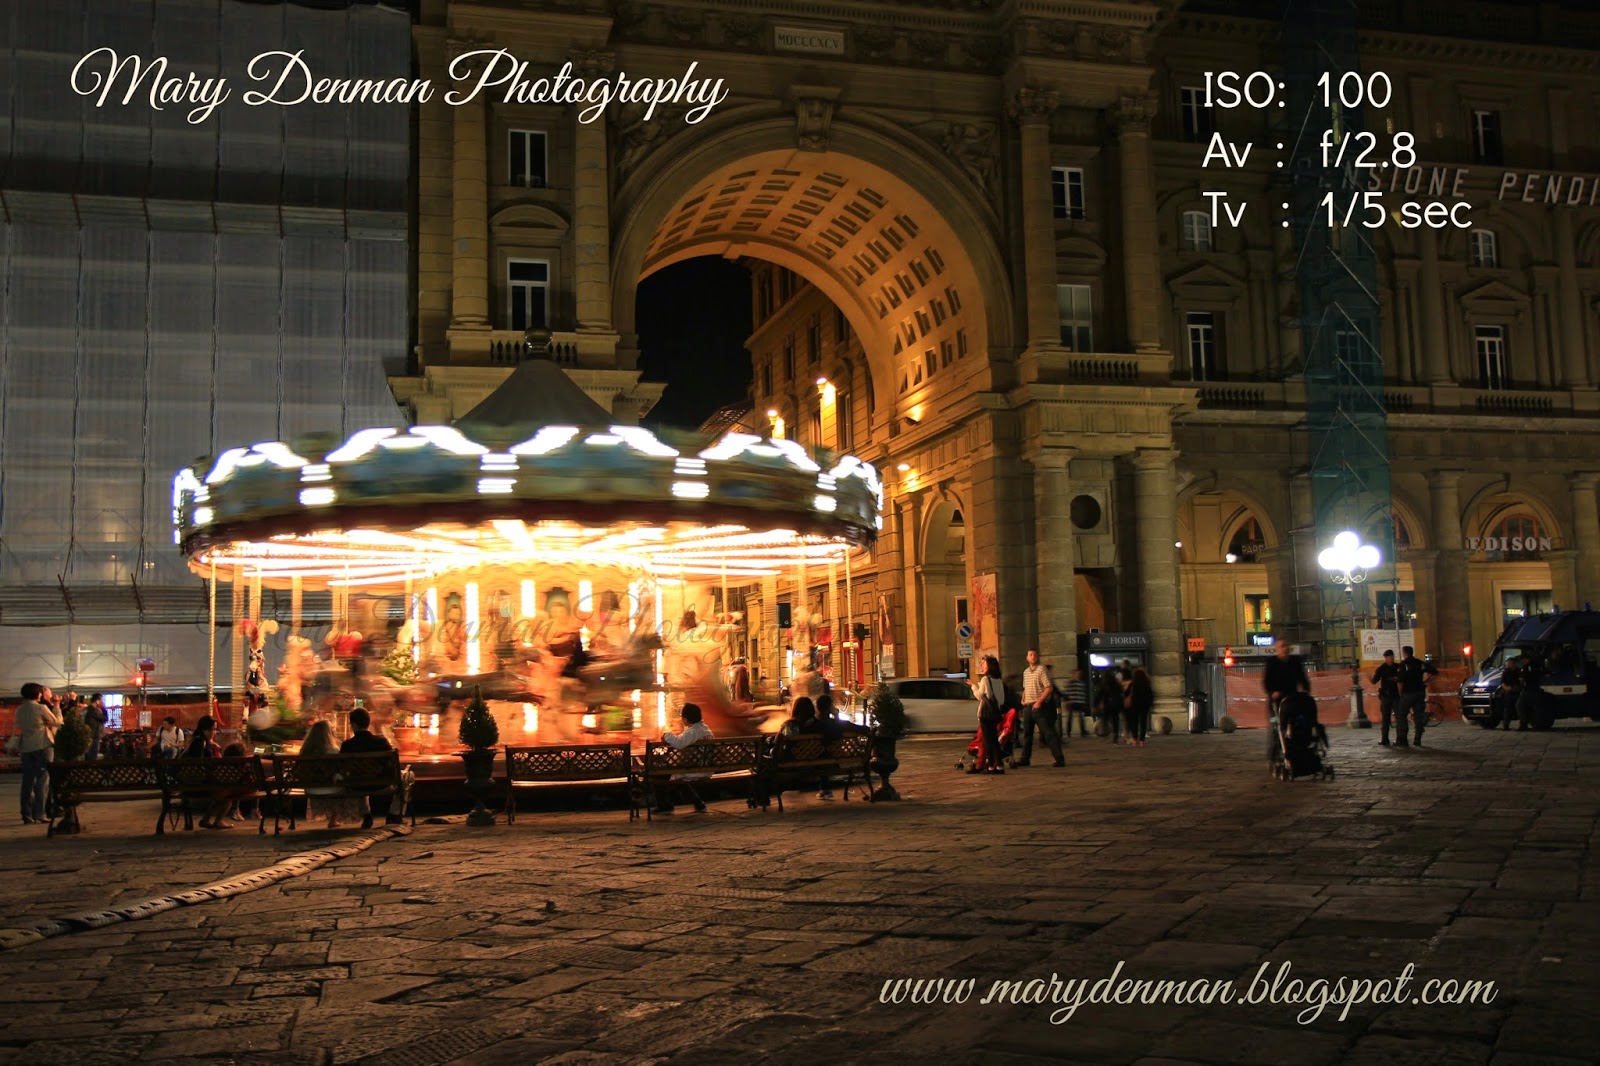
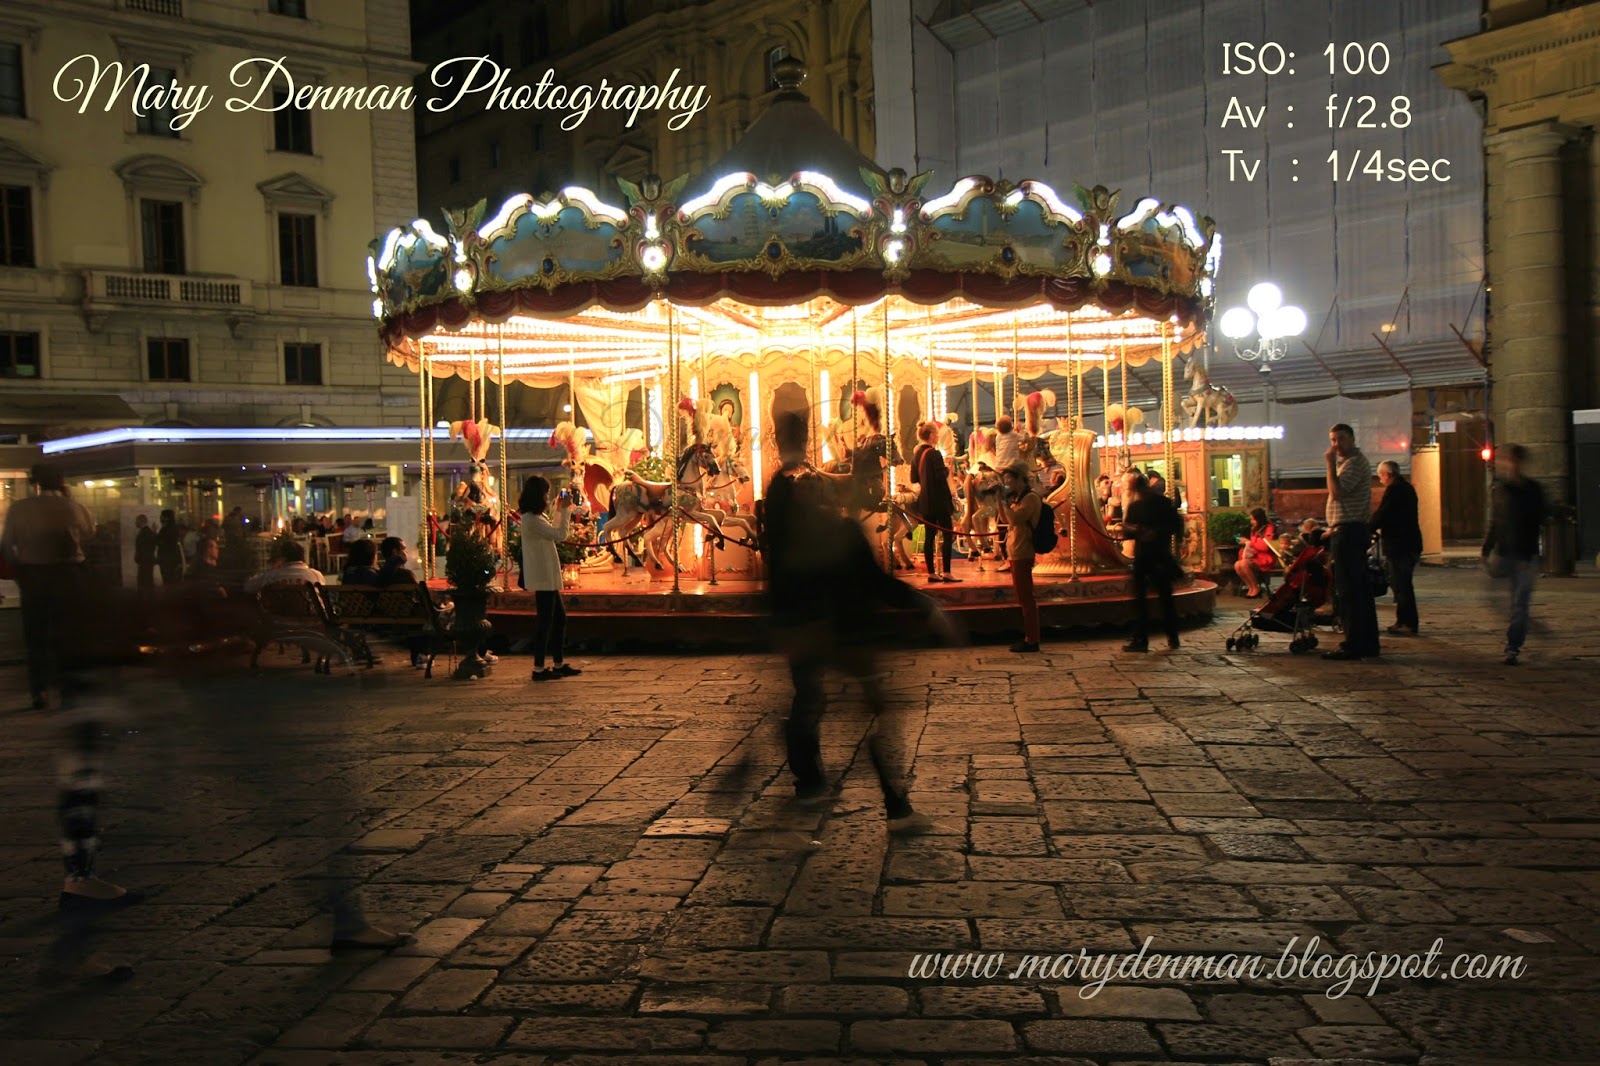
As my husband and I started back to our hotel, we came across this lovely Merry-Go-Round.
In this shot with the tripod, notice the ISO is 100. You may well ask why I wasn't shooting 1600 or above.
Because I wanted to capture the motion of the Merry-Go-Round. Note that the people sitting on the benches are clear, as are the buildings and cobblestone street. See the movement captured in the blurred lights?
I just loved the soft, warm colored lights. The people milling about. The sound of music playing.
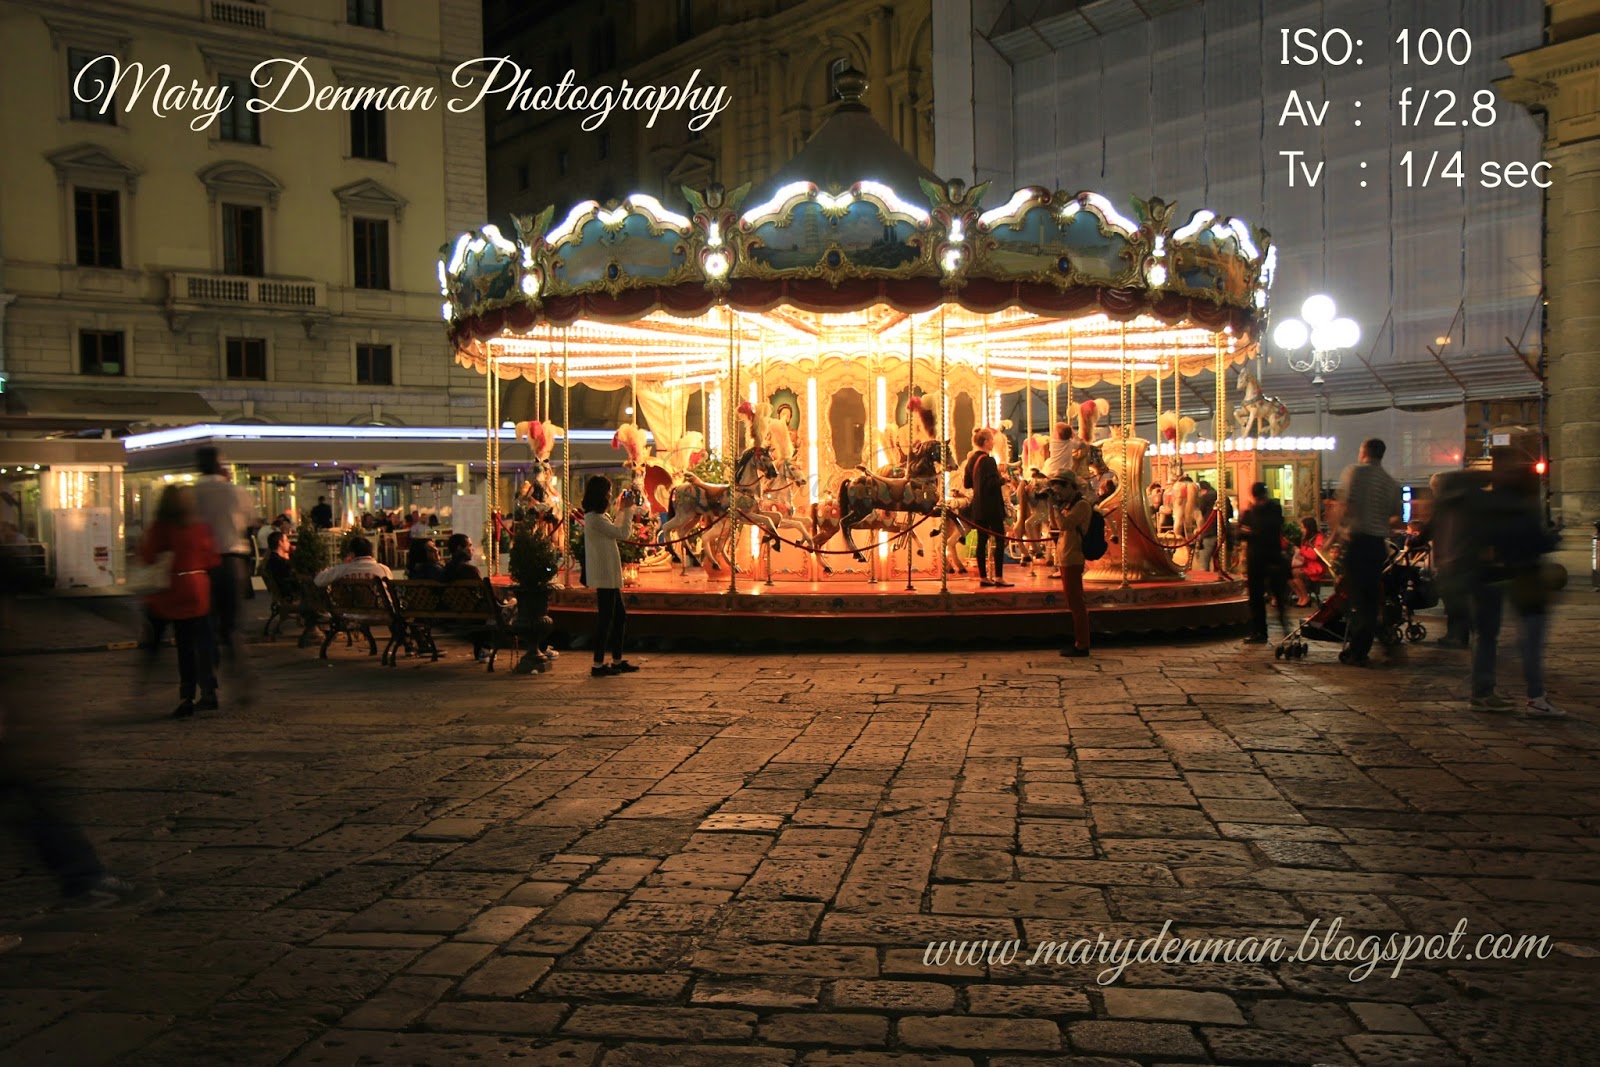
Once again, I used the tripod and an ISO of 100. The Merry-Go-Round was stationary at this point. And I got a great overall picture.
 But I took some others. I love this one too. Even though the people walking by block some of the view, you get the feel of their movement because of the blur.
 Then, I changed the ISO to 3200 and moved in closer. Without all the street lighting, you'll notice the shot is a lot darker.
However, you can see the lights individually and cool silhouettes on the Merry-Go-Round.

So, the big tip is to play with your ISO. Try it tonight and start with pictures at ISO 100 and then go up from there. As you play with it and get more familiar, you'll find you'll be taking much better night time shots.
For CELL PHONE users: Unfortunately, without an app, you can't control ISO with most phones. However, the one thing you can do is tell the camera to focus on the brightest part of a night time/dark shot. If the overall picture is too dark, the phone won't even focus. But if you touch the screen where you want it to focus, then it will read that part in particular and will have an easier time focusing.
Hope this tip helps!
Keep on clicking!
Mary
Tweetable: How to take Night Time shots Part 2 (click here to tweet)
Keep on clicking!
Mary
Tweetable: How to take Night Time shots Part 2 (click here to tweet)


Great lesson! I'm really trying to take my camera off the auto setting more :). I know it will really make a difference in my shots. This is very helpful!
ReplyDeleteI'm glad it helps Candace. I'm playing around with the idea of doing an ebook with photo tips. But until then, search my blog and I hope you find more useful info!
DeleteLoved your post on rest and relaxation! thanks for dropping by!
I'm so glad you include cell phone hints. My real camera is buried somewhere but I'm lazy so I just use my phone. Of course, I have it with me all the time so I can use it to get spontaneous shots.
ReplyDeleteI'm glad Sherry! :) It was awesome to meet you at Blue Ridge. I loved sitting with you and playing with your camera. So, as I replied above, I'm considering doing an ebook at some point on photo tips. But I've also considered doing teaching videos or Skyping with someone to doing a teaching session. What would you think?
DeleteYou'll get your pictures soon! :)
Thanks for dropping by and have a great weekend!
I would love an ebook, I'd buy it in a heartbeat! I'd prefer training videos to Skype because I could watch them more than once. I'm a slow learner. :)
DeleteGreat photos and wonderful tutoring! Thanks for sharing and linking on my weekend blog hop.
ReplyDeleteThanks for hosting! I'm praying about your house! :)
DeleteI couldn't have read your post at a better time (or yes, because we just got back from vacation at the beginning of the month) but just yesterday I started looking into taking better night pictures, Thanks for sharing these tips!
ReplyDeletestopping over via that friday blog hop :)
DeleteHi Diana! I'm glad the tips help. I'm trying to keep them practical and easy to use! Have a gray day!
Delete